Personalizing the Vericut Main Window
Vericut enables you to personalize your workspace to match the process by which you use Vericut's many features, as well as incorporating your own personal preferences. Through the use of "dockable" panels, you can set up your Vericut workspace as simply or as complex as you choose.
Each of the “dockable” panels can be displayed in three different states:
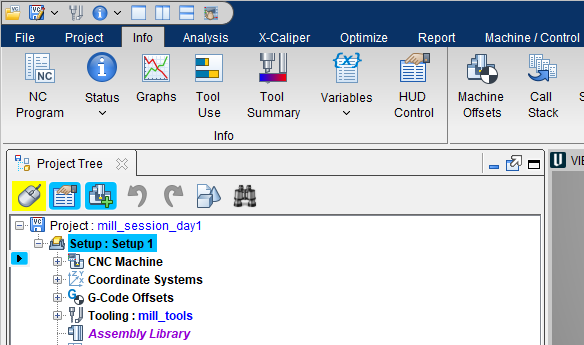
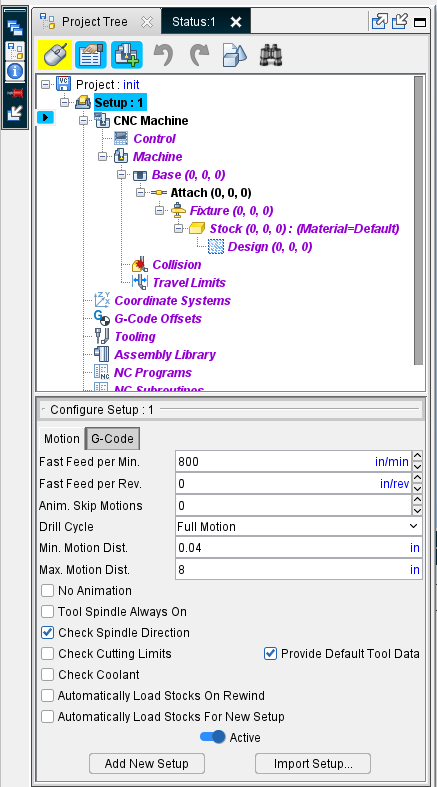
- Docked inside the Vericut main window. The Vericut Logger, in the picture below, is displayed in a “docked” state.
- Floating (un-docked) is displayed as a stand-alone panel. In this state, the panel will look like an open window.
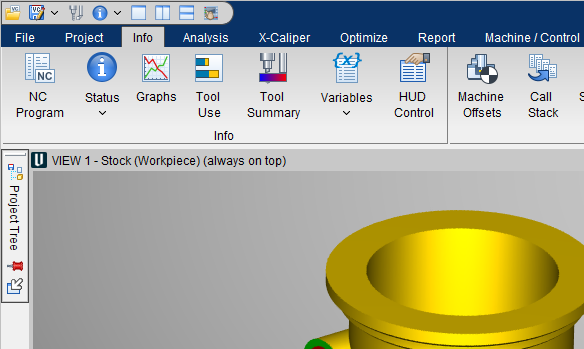
- Overlay displays the panel as a tag on the edge the Vericut main window. The X-Caliper panel, in the picture below, is displayed in an “overlay” state. You can display the panel by clicking on the tab. Click again to return to the “overlay” state.
📝 NOTE: When any panels is docked, make sure that you click in the window so that it becomes the "active" window before using F1 to get help specific to the window. Otherwise F1 will go to the Vericut Help Library.
| Docked | Overlaid |
|---|---|
 |
 |
All “dockable” panels can be combined to create tabbed panels. Each of these concepts will be define in detail in the sections below.
By “docking”, “floating”, or “overlaying” dockable panels, and/or tabbed panels you can tailor your Vericut workspace to meet your specific needs.
The layout and last location of all dockable panels, including tabbed panels, are saved in the Preferences (prefs) file.
Single Panels
When you open Vericut for the first time, the Toolbar, the Project Tree, the Animation Controls, and the Vericut Logger panels are all displayed as “docked” inside the Vericut main window. All other “dockable” panels will be displayed as “floating” panels if clicked.
In general, panels will have the icons described below.
All panels will have:
 (Close) icon located at the end of each tab enables you to close the panel.
📝 NOTE: The Vericut Logger is the only panel without a close icon. This is because it cannot be closed for safety reasons.
 (Maximize) icon will make the dockable panel as large as possible.
Panels will have the following options depending on which state they are in:
![]() (Overlay) icon converts a panel to an “overlay” state at the nearest “overlay” panel location. This option is available in "docked" and "floating" states.
(Overlay) icon converts a panel to an “overlay” state at the nearest “overlay” panel location. This option is available in "docked" and "floating" states.
“Overlay” panels, like the NC Program panel shown below, will look like the example below in their default state.
| State | Image | Explanation |
|---|---|---|
| Vertical | 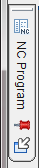 |
The tag will be displayed vertically when the when the panel is in an “overlay” state on the right or left side of the Vericut main window. Clicking on the tag will display the NC Program panel. Clicking on it again will return the NC Program panel to the “overlay” state. |
| Horizontal |  _____________________________ _____________________________ |
The tag will be displayed horizontally when the when the panel is in an “overlay” state on the top or bottom of the Vericut main window. Clicking on the tag will display the NC Program panel. Clicking on it again will return the NC Program panel to the “overlay” state. |
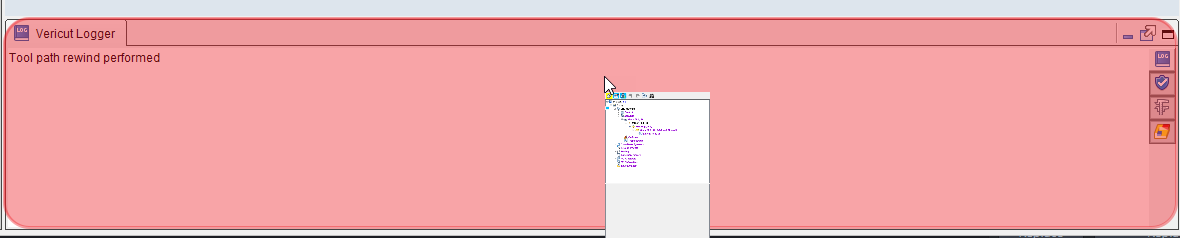
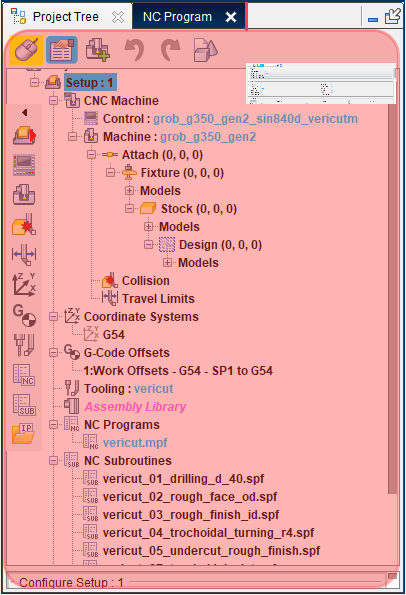
![]() (Docked) icon converts a panel to a “docked” state at the nearest dockable location. This option is available in "floating" and "overlay" states. Panels can also be docked by left-clicking on the panel tab and holding down the left-mouse button as you move the panel around. An area with a semi-transparent red box will appear in the main window showing where the panel will be docked when you release the left-mouse button. See the example image below.
(Docked) icon converts a panel to a “docked” state at the nearest dockable location. This option is available in "floating" and "overlay" states. Panels can also be docked by left-clicking on the panel tab and holding down the left-mouse button as you move the panel around. An area with a semi-transparent red box will appear in the main window showing where the panel will be docked when you release the left-mouse button. See the example image below.
![]() (Floating) icon converts a panel to a “floating” state at the previous location where it floated. This option is available in "docked" and "overlay" states. You can also cause a panel to float by left-clicking on the panel tab and holding down the left-mouse button as you move the panel around. The main window will show a semi-transparent red box for docking but if you move the panel to any location that does not display this red box such as outside the main window, the panel will float when you release the left-mouse button at the location where you released it.
(Floating) icon converts a panel to a “floating” state at the previous location where it floated. This option is available in "docked" and "overlay" states. You can also cause a panel to float by left-clicking on the panel tab and holding down the left-mouse button as you move the panel around. The main window will show a semi-transparent red box for docking but if you move the panel to any location that does not display this red box such as outside the main window, the panel will float when you release the left-mouse button at the location where you released it.
 /
/ (Stick)/(Unstick) icons are used to toggle between an "overlay" panel state that will either stay visible (Stick) or be minimized (Unstick) when you click outside of the panel. These icons are available only in the "overlay" state.
💡 Tip: Holding the cursor over any of the icons will display a tip showing what the icon is used for.
Right-clicking on a "dockable" panel tab will display the following menu depending on your panel's state. Each menu item provides the same functionality described above.
| Docked | Floating | Overlay |
|---|---|---|
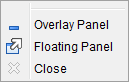 |
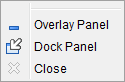 |
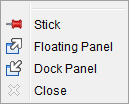 |
Tabbed Panels
Any “dockable” panel can be configured with multiple tabs. Tabbed panels can be displayed in the same three states as any other “dockable” panel described above.
Creating Multiple Tabbed Panels
Panels will display as single tabs by default but can easily be combined by following these instructions.
-
With two panels open, left-click on the tab in one panel and then drag it to the other panel.
-
A semi-transparent red box will appear indicating where the panel tab will appear. You will see a small panel inside the “floating” panel as shown in the picture below.
- Releasing the mouse button will cause the dragged panel to become a second tab on the panel you dragged it to.
Using Multiple Tabbed Panels
You can switch between the tabs by clicking on them. You can also use the standard icons, RMB menu features, or clicking and dragging to rearrange the tabs or move a tabbed panel outside of the panel it is grouped in. To remove a tab from the tabbed panel, click on the (Close) icon located at the end of the tab.
Docked and Floating panels behave identically with multiple tabs. Overlay panels are the only state that behaves diferently. The following picture shows a minimized multi-tab “overlay” panel on the left side of the Vericut main window.
Tabs can only be added to an "overlaid" panel when the panel is actively displayed. If you try to add a tab to an "overlaid" panel that is minimized (like above), the tab will become a second minimized panel beside the original panel rather than a multiple tabbed panel. See example below.

When an "overlaid" panel with multiple tabs is fully displayed, you can click on the tabs in the panel or the icons of the tabs in the minimized area to navigate to that tab.
Otherwise, "overlaid" panels behave identically to "docked" and "floating" panels.