Working Directory
Location:
File tab >  (Working Directory)
Toolbar short cut: ![]()
The Working Directory command button opens the Working Directory file selection window enabling you to set the Working Directory to a location where you can open and save Vericut files. After setting the Working Directory, Vericut will look here by default whenever files are saved or opened. You can also quickly access files in this folder via the Working Directory entry in the file selection window Shortcut list.
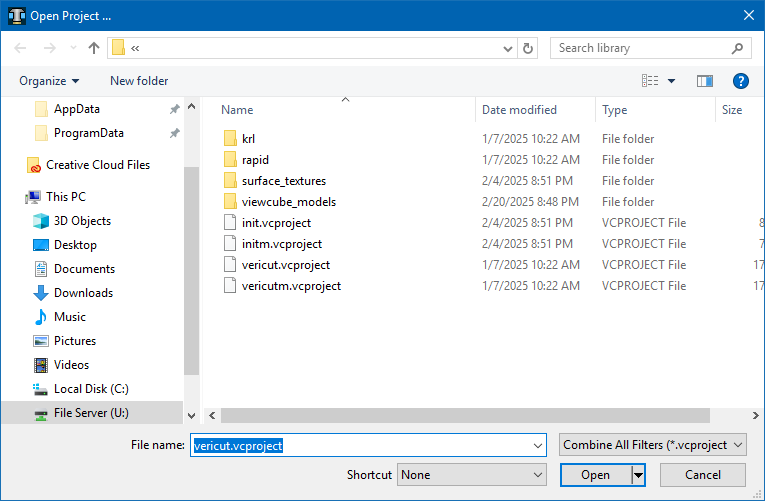
Most features on this window are standard file selection window features that enable you to navigate through directories, filter files, and type or select file names. In this case, all that is required is to select a folder. For additional information on Vericut file selection windows, see Introduction to Vericut File Selection Windows section of Vericut Help.
Setting a Working Directory
When a Working Directory is set, Vericut will look there by default when files are saved or opened.
To set a Working Directory:
-
In the Vericut Toolbar, click on the Working Directory icon
 .
.
Or, in the Vericut Menu ribbon, click File tab > Working Directory. -
In the "Working Directory" file selection window that opens, select or type the /path/name of the folder that you want to use as your Working Directory. You must have "write" privileges to the selected folder.
💡 Tip: You can append to the path shown at the bottom of the "Working Directory" file selection window to create a new sub-folder and then use it for the Working Directory. -
Click OK.
The Working Directory is set. You can now quickly access files in this folder via the Working Directory entry in the file selection window Shortcut list.