Assembly Manager
Location:
Utilities group > ![]() (Assembly Manager)
(Assembly Manager)
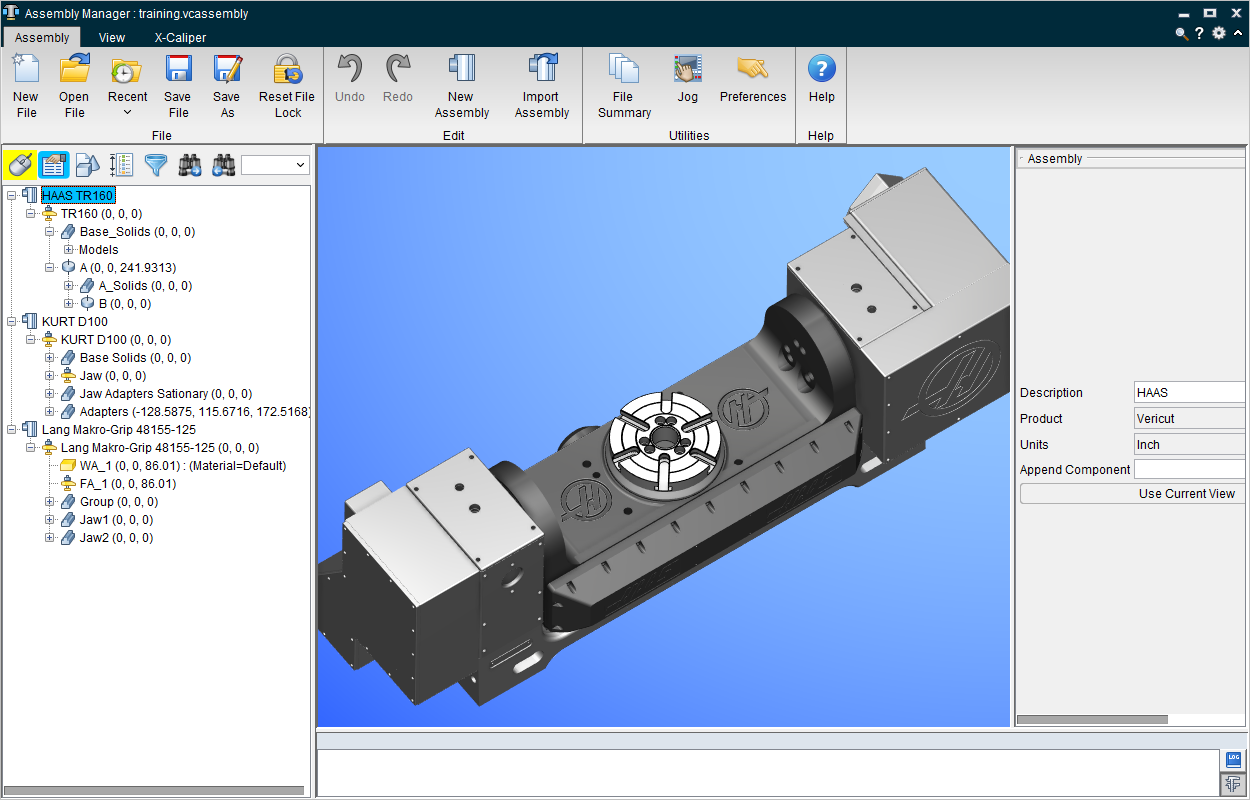
The Assembly Manager command button opens the Assembly Manager window, enabling you to open, save, and import assembly libraries which can include things like portions of CNC machines including rotary table configurations, angle heads for machining, robot end vectors, and various work holding setups among other features. See Component Type: Import Assembly for additional information about Import Assemblies. The Assembly Manager window is split into two major sections: the Assembly Manager Tree and the Assembly Display. The Assembly Manager Tree works similarly to the Project Tree.
The major differences from Project Tree are:
-
Assemblies can be set up via kinematic much like how components are set up in Project Tree. There are some visual changes but the flow is very similar and the pieces can be set up in the Project Tree or in the Assembly Manager.
-
Assemblies can even be dragged and dropped between the Assembly Manager Tree and the Project Tree. The drag and drop feature works the same as if you used the Import Assembly feature. You can also right-click on a component and then select Create New Assembly From Component to have the component and its children become an assembly.
-
You can associate each assembly with its own CSYS.
-
The Filter feature in the menu bar can be used to display only assemblies that have been associated with a specific word, note, or filename.
The Assembly Display works similarly to the Graphics Area including with right mouse button functionality.
Assembly tab
File group
New File — Starts a new Assembly Manager file.
Open File — This command button can be used to open files in the Assembly Manager.
Recent — Displays the most recently used or opened files than can be loaded into the Assembly Manager for ease of reference.
Save File and Save File As — Saves the Assembly Manager file.
Reset File Lock — Undoes file locks that have been set prior to import.
Edit group
Undo — Reverts the Assembly to the previous step.
Redo — Adds back an undone step.
New Assembly — Adds a new assembly to be edited in the Assembly Tree.
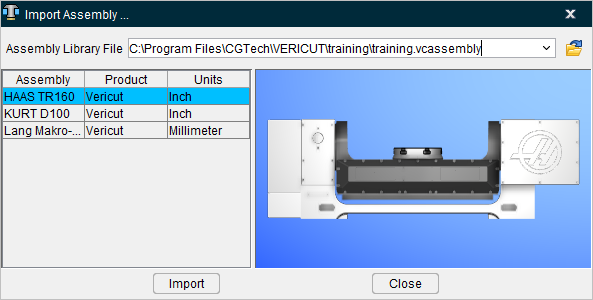
Import Assembly — Opens the Import Assembly window, enabling you to choose and copy an Assembly from a library and append it after the current component.
Utilities group
File Summary — Opens the File Summary window enabling you to view various information about the creation of the assembly files.
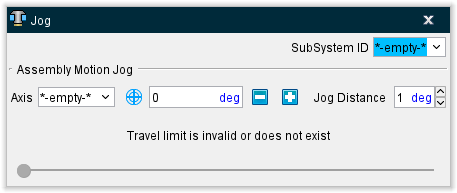
Jog — Opens the Jog window enabling you to move the assembly around in a manner similar to using the MDI window.
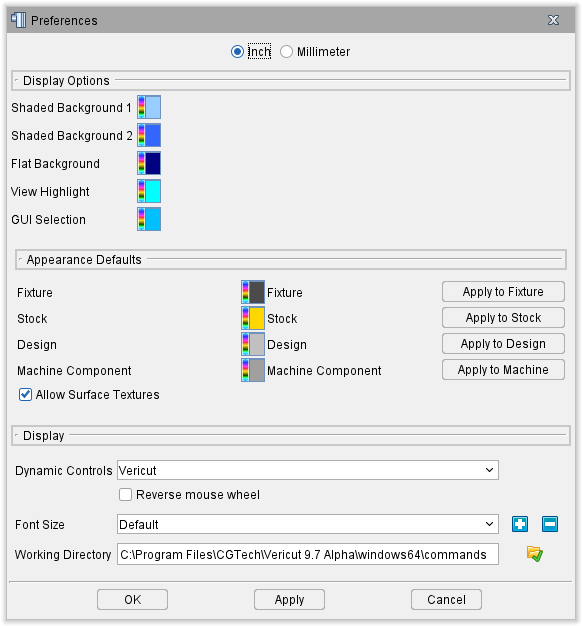
Preferences — Opens the Preferences window enabling you to toggle between Inch and Millimeter measurements, set various background and shading options, control component appearances, choose your control preferences, set font size, specify a working directory, and more. The image below is from Tool Manager Standalone. The Preferences window for Vericut's Assembly Manager only contains the Display Options group.
Help group
Help — Opens the Vericut Help documentation for Assembly Manager (this page).
View tab
Orient group
The features of the View tab are identical to Vericut's top level View tab. Click on the features listed below to be taken to that section of the Vericut Help and learn about these features in detail.
ZX View — Orients the assembly view along the ZX axis rather than along the standard XY axis.
XZ View — Orients the assembly view along the XZ axis rather than along the standard XY axis.
Remaining groups
X-Caliper tab
The features of the X-Caliper tab are identical to Vericut's top level X-Caliper tab. Click on the features listed below to be taken to that section of the Vericut Help and learn about these features in detail.